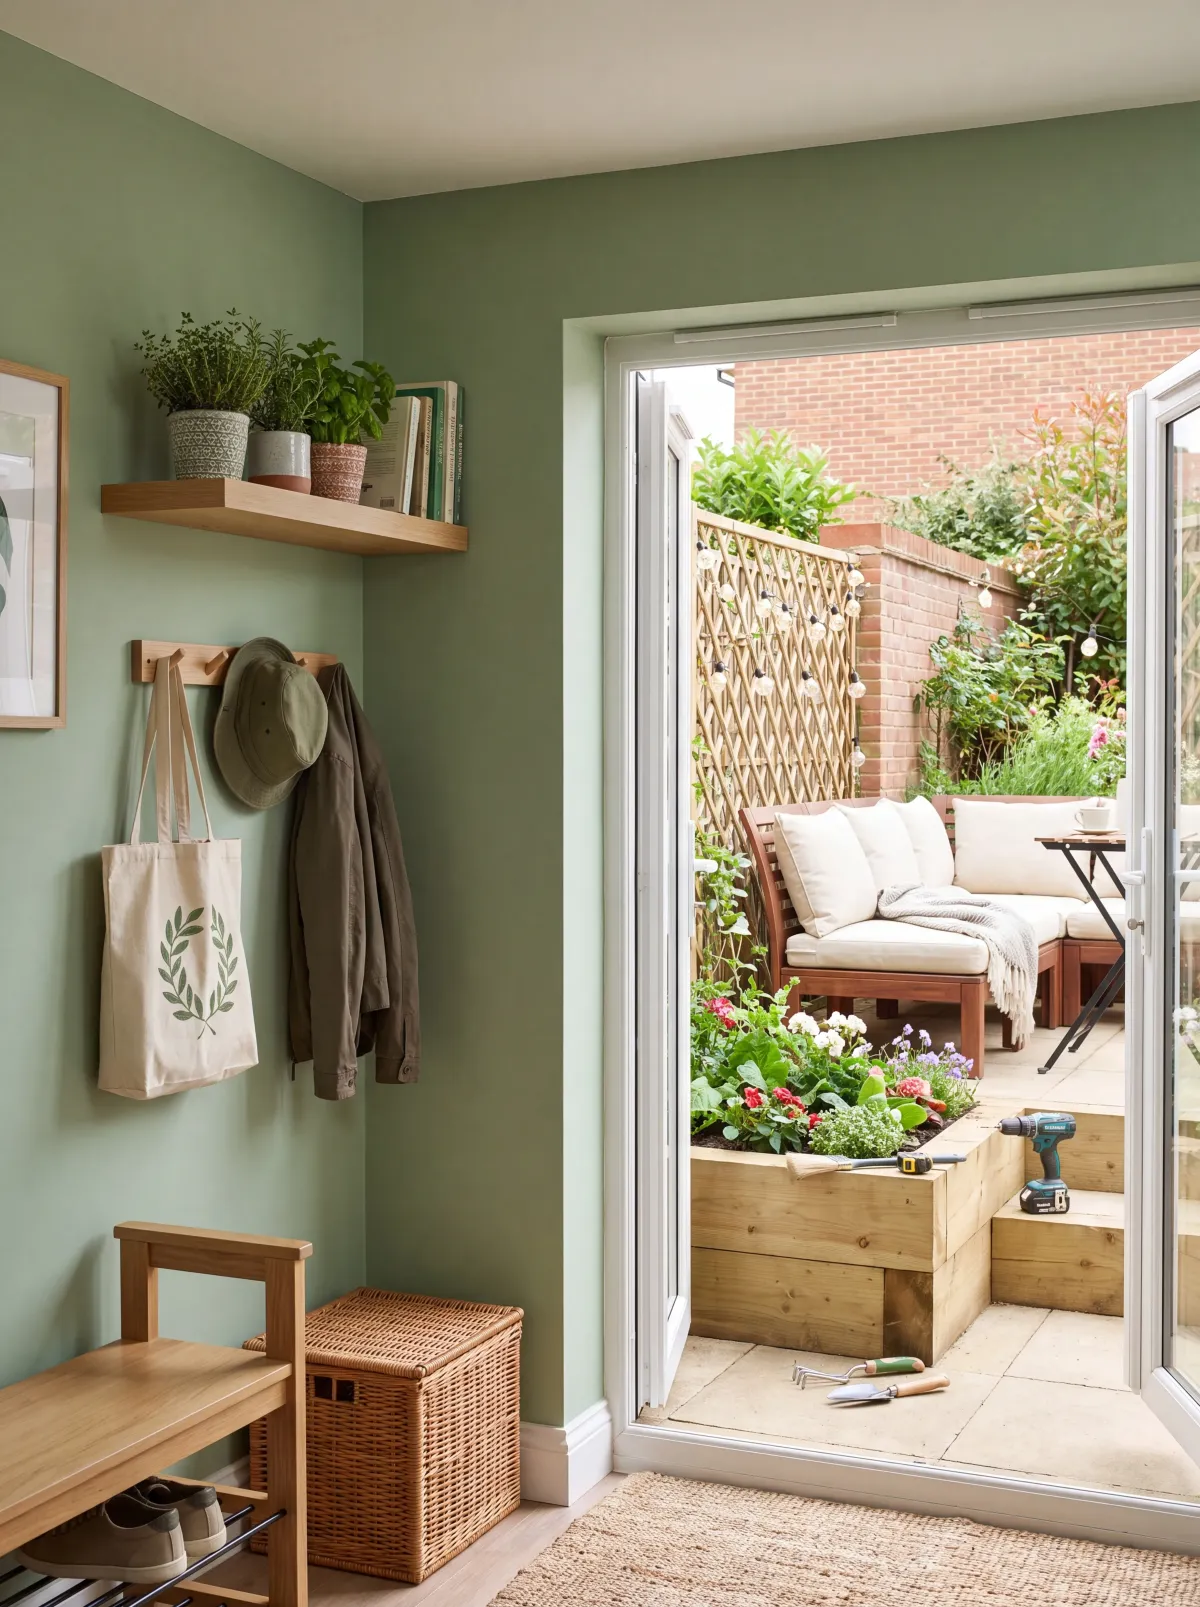
Simple Home and Garden Projects to Try This Weekend
Improving your home doesn’t always mean starting a major renovation.
A few hours spent painting, organizing or building something simple can make a room or outdoor space feel noticeably better. The most successful weekend projects tend to be contained, affordable and realistic enough to finish before Monday.
The aim isn’t to tackle every unfinished job at once. Choose one project, gather what you need and complete it properly.
Here are eight practical home and garden projects you can take on over a weekend.
1. Refresh a tired wall or small room
Painting is one of the quickest ways to change how a space feels.
You don’t have to redecorate an entire floor of the house. A small bedroom, utility room, entrance area or single feature wall can be enough for a manageable weekend project.
Preparation usually takes longer than people expect, but it makes the biggest difference to the result.
Before opening the paint:
Remove pictures and fittings
Fill small holes and cracks
Sand rough patches
Clean marks and dust from the wall
Protect floors and nearby furniture
Mask edges where needed
Don’t rush straight into painting over damaged or dirty surfaces. New paint tends to highlight uneven areas rather than hide them.
Choose a finish suited to the room. Kitchens, hallways and children’s rooms may benefit from a surface that’s easier to wipe clean.
Paint a small test area before committing to the whole wall. Color can look different depending on the room’s natural light, artificial lighting and surrounding furniture.
A small room can often be prepared and painted over a weekend, although you’ll need to allow enough drying time between coats.
2. Create a more organised entrance area
Hallways and entrances collect shoes, coats, bags, keys and post surprisingly quickly.
A simple storage setup can make the space easier to use without requiring fitted furniture.
You could add:
A row of coat hooks
A narrow shelf
A shoe rack
A small basket for gloves or hats
A tray for keys and loose items
A wall-mounted letter holder
Start by looking at what usually ends up on the floor or nearest surface.
Build the storage around those items rather than adding furniture with no clear purpose.
If the space is narrow, use the wall. A shallow shelf and a few hooks take up less room than a freestanding unit.
Place hooks at heights that suit the people using them. Lower hooks can help children hang up their own coats and bags rather than leaving them elsewhere.
Make sure wall-mounted storage uses fixings suited to the wall and the expected weight.
3. Add simple storage to a garage or shed
Garages and sheds often become difficult to use because everything sits on the floor or gets pushed onto the nearest shelf.
You don’t need a complete storage system to make an improvement.
Choose one problem area and organize that first.
Possible weekend projects include:
Installing a basic shelf
Adding wall hooks for garden tools
Mounting a pegboard
Building a timber rack for offcuts
Labelling storage boxes
Creating a dedicated area for frequently used tools
Before drilling into the walls, check what they’re made from and whether they can support the intended load.
Keep heavy items low and avoid placing awkward equipment above head height.
Store sharp tools securely and keep anything hazardous away from children and pets.
A simple wall-mounted rack can free up a surprising amount of floor space.
4. Build or refresh a garden planter
A planter can add structure to a patio, balcony or garden without requiring major landscaping.
You can build a simple wooden planter from new timber or refresh one you already own.
For a new planter, decide where it will sit before choosing the dimensions. A large planter can become difficult to move once it’s filled with compost.
A basic design usually consists of:
Four side panels
A supported base
Drainage holes
Optional feet
An internal liner where appropriate
Use timber, screws and finishes suited to outdoor conditions.
Good drainage matters. Water shouldn’t remain trapped around the roots or against the timber.
If you’re restoring an existing planter:
Empty it and remove loose soil.
Check for rot or damaged joints.
Replace weak sections.
Brush away dirt and loose finish.
Sand rough surfaces.
Apply a suitable exterior treatment.
You can also improve a plain plastic pot by placing it inside a simple wooden surround.
This gives you the look of a timber planter while keeping the soil separate from the wood.
5. Improve an outdoor seating area
An outdoor seating area doesn’t need new paving or expensive furniture.
Cleaning, rearranging and repairing what you already have can make a noticeable difference.
Begin by clearing the area and removing anything that doesn’t belong there.
Then look at the surfaces.
Paving may need sweeping and washing. Timber decking may need cleaning, minor repairs or a fresh protective finish. Furniture may benefit from tightening loose fixings, sanding rough areas or repainting.
You might also add:
A small outdoor table
Weather-resistant cushions
Planters
Solar or low-voltage lighting
A storage box
A simple screen for privacy
Avoid filling a small patio with too many objects. Leave enough room to move chairs and walk through the space comfortably.
If you use outdoor lighting, choose products designed for exterior use and follow the manufacturer’s installation instructions.
A finished seating area should be easy to maintain. If every cushion, light and accessory has to be moved indoors each evening, you may stop using it.
6. Install a simple shelf
A shelf can solve a storage problem in almost any room.
Possible locations include:
A kitchen
Utility room
Bathroom
Home office
Bedroom
Garage
Alcove
Decide what the shelf needs to hold before choosing the board, brackets and fixings.
A shelf for a few lightweight decorations has different requirements from one holding books, kitchen equipment or tools.
Mark the bracket positions carefully and use a level before drilling.
You should also check for hidden pipes and electrical cables.
Older homes can have uneven walls, so don’t assume the corners, ceiling or nearby fittings are perfectly level.
Once the shelf is fitted, test it gradually rather than loading it immediately with heavy items.
7. Tidy visible cables and charging areas
Loose cables can make an otherwise tidy room feel unfinished.
Focus on one area such as a desk, television stand, bedside table or family charging point.
Start by unplugging everything and identifying which cables are still needed. Old chargers and disconnected leads often remain in place long after the equipment has gone.
You could use:
Reusable cable ties
Adhesive cable clips
Cable sleeves
Trunking
A cable-management box
A labelled charging station
Keep power adapters ventilated and don’t crowd extension leads inside enclosed containers.
Avoid running cables beneath carpets or through doorways where they may be damaged.
A small charging shelf can also help keep phones, tablets and cables together.
This works particularly well in an entrance area or kitchen, where devices tend to collect on worktops.
8. Refresh doors, handles and small fittings
Small details can affect how a room feels more than expected.
Loose handles, scratched doors and mismatched fittings are easy to ignore because each issue seems minor. Tackling several related jobs together can create a more finished result.
Possible projects include:
Tightening loose handles
Replacing worn cabinet knobs
Adjusting hinges
Lubricating stiff latches
Filling old screw holes
Painting an internal door
Replacing hooks
Updating drawer pulls
Before buying new handles, measure the distance between existing screw holes.
Choosing fittings with the same spacing can save you from filling and drilling new holes.
When adjusting a door, first work out why it’s catching. The issue might be a loose hinge, a swollen edge or movement in the frame.
Don’t remove large amounts of material until you understand the cause.
A few adjusted hinges and tightened handles can make a room feel better maintained without changing its overall design.
How to choose your weekend project
The best project depends on your time, budget and current confidence.
If you only have a few hours, try:
Organising a charging area
Replacing handles
Adding coat hooks
Refreshing a planter
Installing a small shelf
If you have most of the weekend, consider:
Painting a small room
Building a planter
Improving a seating area
Adding garage storage
Creating a complete entrance setup
Think about the amount of preparation involved.
Painting a wall sounds quick, but filling, sanding and drying can spread the job across two days.
Building a planter may take less time than expected if the timber is already cut to size.
Choose a project with a clear finish point. “Improve the garage” is vague. “Install one shelf and hang the garden tools” is much easier to complete.
What to check before starting
A little planning can prevent repeated trips to the shop and half-finished jobs.
Before you begin:
Measure the space
Write the measurements down rather than relying on memory.
Measure doorways too if you’re building something that will need to be moved into place.
Check your materials
Make sure you have enough paint, timber, screws, fixings and consumables.
Check that timber is reasonably straight and paint hasn’t deteriorated during storage.
Match fixings to the surface
Different walls require different plugs, anchors and screws.
The item’s weight and purpose also affect the choice.
Locate possible pipes and cables
Think carefully before drilling into walls, floors or ceilings.
Use an appropriate detector and consider where services are likely to run.
Protect the surrounding area
Move furniture, cover floors and create enough space to work safely.
A ten-minute setup can save a much longer cleaning job.
Allow for drying time
Paint, filler, glue and outdoor finishes may need several hours between stages.
Check the instructions before planning the order of the work.
Keep the project contained
It’s easy for one small job to expose three more.
You remove a shelf and notice the wall needs filling. You move a planter and decide the whole patio needs cleaning. You replace one handle and start looking at every door in the house.
That’s normal, but you don’t need to fix everything in the same weekend.
Finish the original project first.
A completed shelf, painted wall or organized entrance area will give you a useful result. A house full of half-started jobs won’t.
Start with the space you use most
You’ll get the most value from a project that improves part of your everyday routine.
That might mean making the hallway easier to use, adding storage to the garage or creating somewhere comfortable to sit outside.
Choose one practical improvement, gather the right tools and give yourself enough time to finish it properly.
Once that’s done, you can decide which project comes next.